
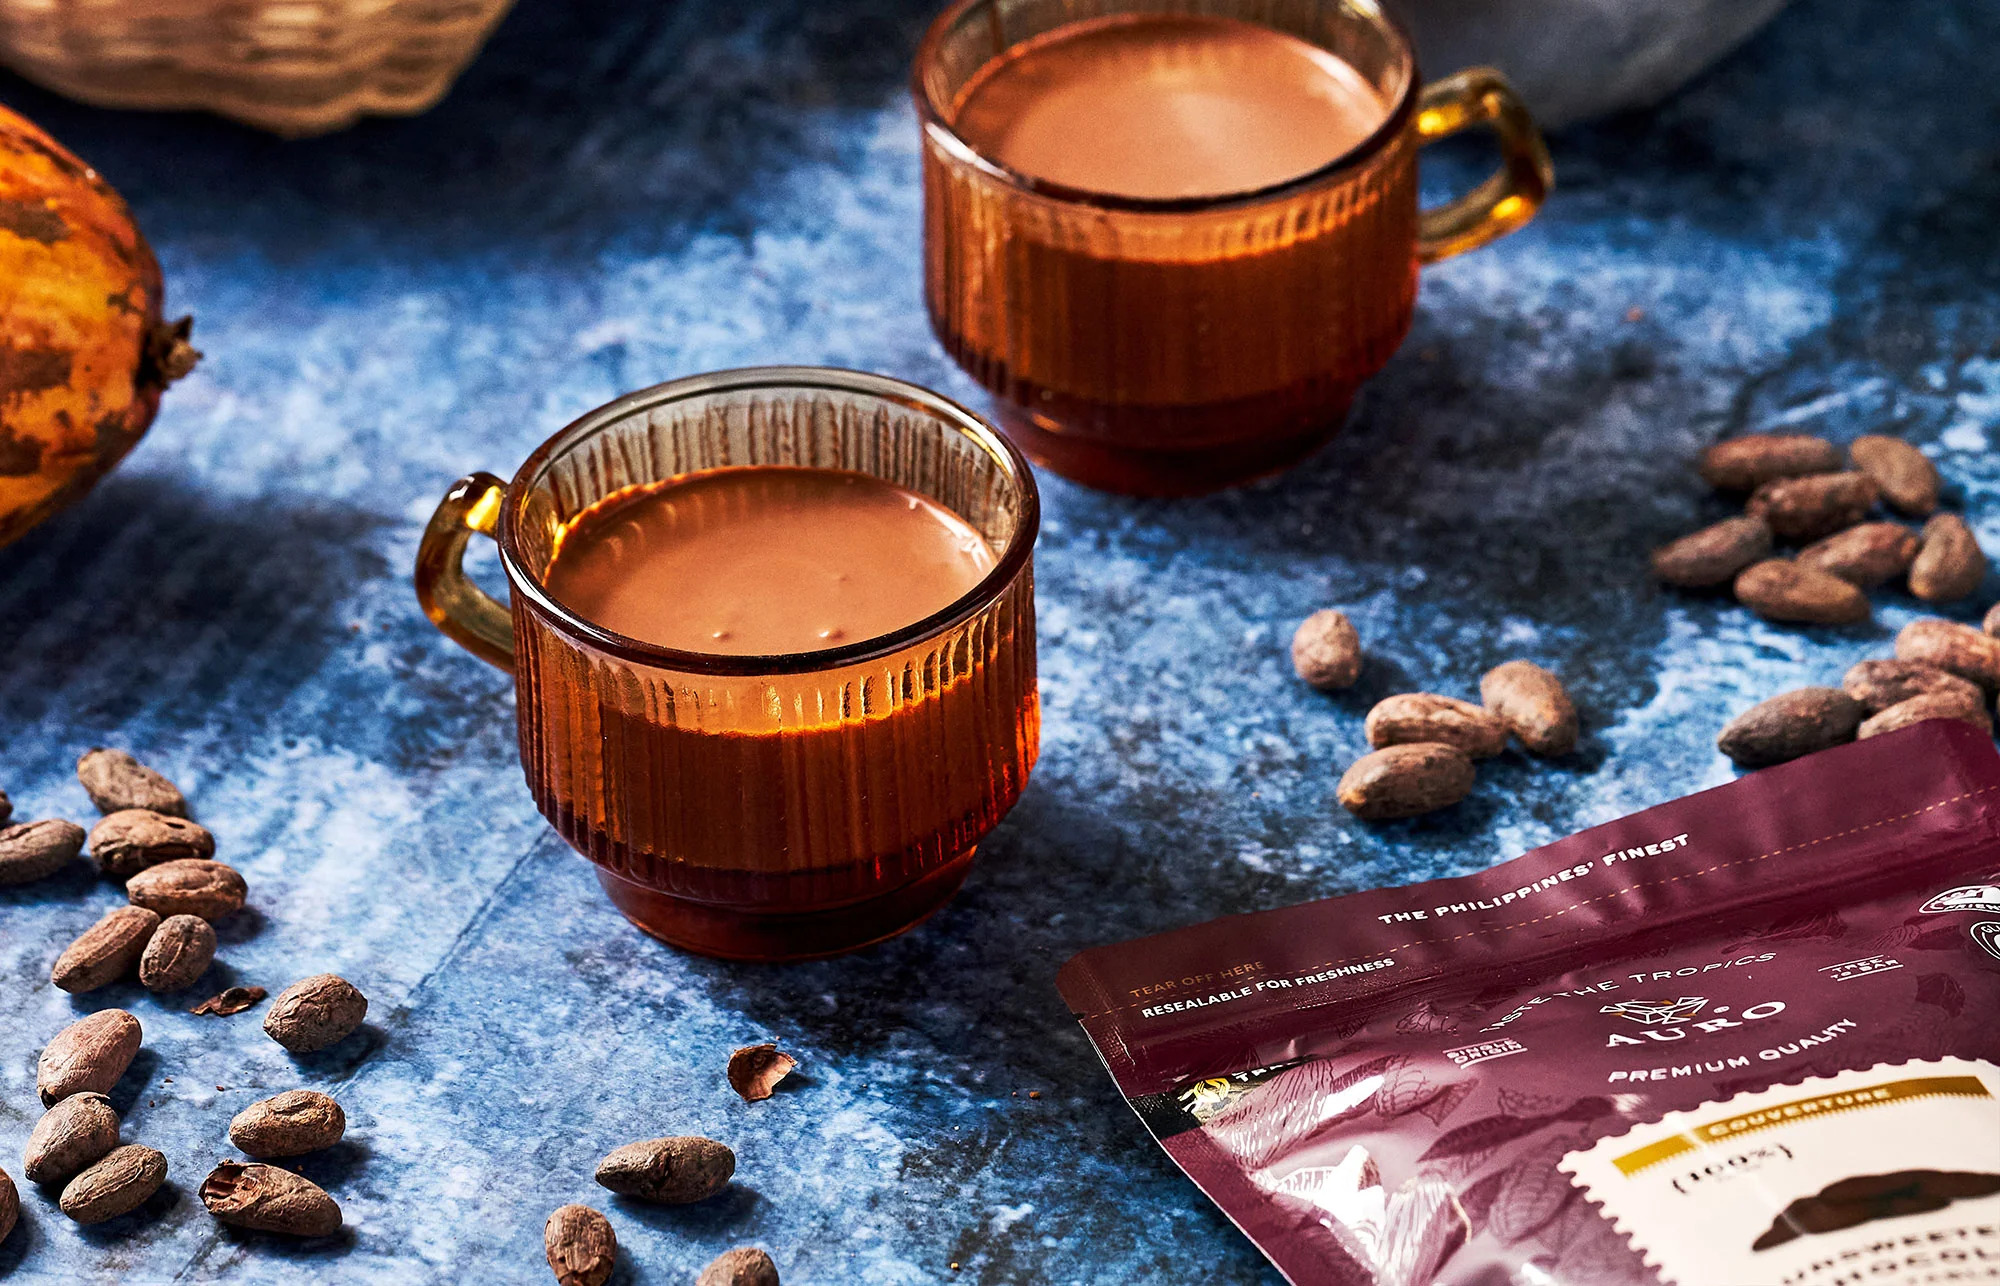
Cacao, the purest form of chocolate, is cherished by many for its rich flavor and health benefits. Making cacao from scratch can seem challenging, but with the right steps, it’s a rewarding process. Here’s an in-depth guide how to make cacao at home.
Ingredients and Tools
- High-quality cacao beans
- Roasting pan
- Blender or food processor
- Strainer or sieve
- Large bowl
- Spatula
- Conching machine (optional)
- Sugar (optional)
- Molds for shaping chocolate
Step 1: Sourcing Cacao Beans
Start with sourcing the best cacao beans you can find. Look for beans that are organically grown and fairly traded. These beans will not only provide the best flavor but also ensure that the production process is ethical and sustainable.
Step 2: Roasting the Beans

Preheat your oven to 250°F (120°C). Spread the cacao beans evenly on a roasting pan. Roast the beans for 15-25 minutes, stirring occasionally to ensure even roasting. The beans are ready when they start to crack open and emit a nutty, chocolatey aroma. Roasting is crucial as it develops the beans’ flavor and makes the shells easier to remove.
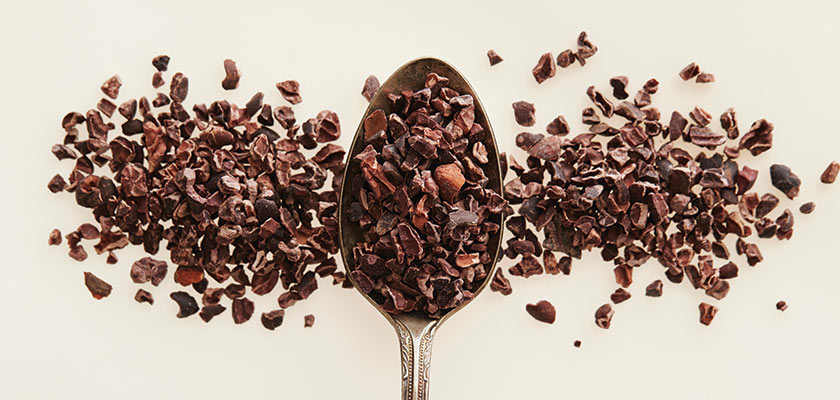
Step 3: Cracking and Winnowing
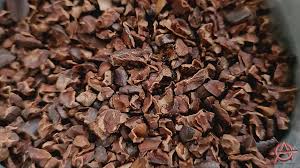
Once the beans have cooled down, it’s time to crack them. This can be done manually by placing the beans in a cloth and gently hitting them with a rolling pin. After cracking, winnowing is the process of separating the cacao nibs from the shells. You can use a strainer and a fan to blow away the lighter shells, leaving the heavier nibs behind. This step is essential for getting clean, pure cacao nibs.
Step 4: Grinding the Nibs
Place the cacao nibs in a blender or food processor. Grind them until you get a smooth, thick paste known as cocoa liquor. This process can take some time and patience, as the nibs need to be finely ground to release their natural oils and form a smooth paste. Adding a small amount of sugar at this stage is optional, depending on your taste preference.
Step 5: Conching the Cocoa Liquor
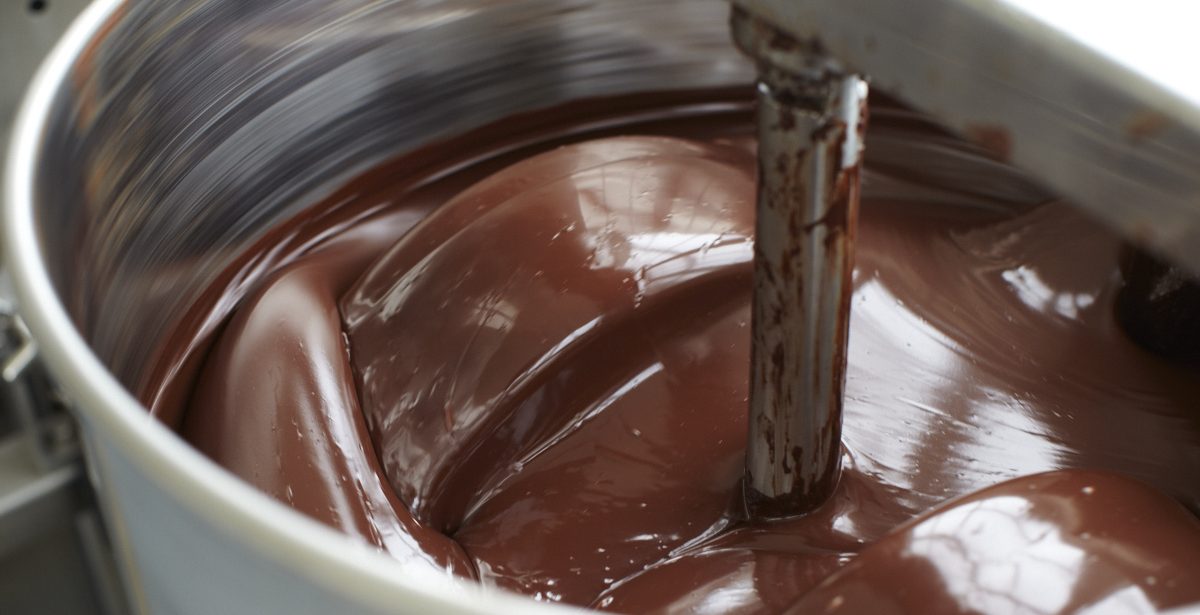
Conching is the process of mixing, aerating, and sometimes heating the cocoa liquor to improve its texture and flavor. This can be done by hand or using a conching machine. Conching helps to smooth out the chocolate and develop a more refined taste. This process can take several hours, but it’s crucial for high-quality chocolate.
Step 6: Tempering the Chocolate
Tempering involves carefully heating and cooling the cocoa liquor to stabilize the cocoa butter crystals. This step is essential for achieving a glossy finish and a firm, snap-like texture in the final chocolate. Tempering can be done by heating the cocoa liquor to around 120°F (49°C), then cooling it to about 82°F (28°C), and finally reheating it to 88-90°F (31-32°C). This process ensures that the chocolate will set properly.
Step 7: Molding and Cooling
Pour the tempered chocolate into molds of your choice. Use a spatula to spread the chocolate evenly and tap the molds lightly on the counter to remove any air bubbles. Let the chocolate cool and harden at room temperature or in the refrigerator. Once fully set, remove the chocolate from the molds. Your homemade cacao is now ready to be enjoyed!
Tips for the Best Homemade Cacao
- Choose Quality Beans: High-quality beans are essential for great-tasting chocolate. Look for beans with a good aroma and minimal defects.
- Roast Carefully: Monitor the roasting process closely to avoid burning the beans, which can ruin the flavor.
- Be Patient: Grinding and conching take time but are crucial steps for achieving the right texture and flavor.
- Experiment: Don’t be afraid to adjust roasting times, sugar levels, and other variables to suit your taste.
Health Benefits of Cacao
Cacao is not just a treat; it’s packed with numerous health benefits.
- Rich in Antioxidants: Cacao has one of the highest levels of antioxidants of any food, which can help reduce inflammation and fight free radicals.
- Mood Booster: Cacao contains compounds like theobromine and anandamide that can improve mood and reduce stress.
- Heart Health: Consuming cacao can lower blood pressure, improve blood flow, and reduce the risk of heart disease.
- Nutrient-Dense: Cacao is high in essential nutrients such as magnesium, iron, and fiber, which support overall health.
Frequently Asked Questions
Q: Can I use a regular oven for roasting cacao beans? A: Yes, a regular oven works perfectly fine. Just ensure you stir the beans occasionally for even roasting.
Q: How do I know when the beans are roasted? A: The beans will crack open and release a nutty, chocolatey aroma when they are ready.
Q: Can I skip the conching process? A: Conching significantly improves the texture and flavor, but you can skip it if you prefer a more rustic, less refined chocolate.
Q: How long does homemade cacao last? A: Store your homemade cacao in a cool, dry place. It can last for several months if properly stored.
Q: Can I add other ingredients to my cacao? A: Yes, you can add ingredients like vanilla, chili, or sea salt to customize your chocolate.
Conclusion
Knowing how to make cacao at home is a fulfilling and delicious adventure. By following these steps, you can create high-quality, homemade cacao that’s tailored to your taste. Experiment with different roasting times, sugar levels, and additional flavors to find your perfect blend. Enjoy the process and savor the rich, satisfying taste of your homemade cacao. Whether you’re a chocolate lover or a health enthusiast, this guide will help you create the perfect cacao treat. Happy chocolate-making!